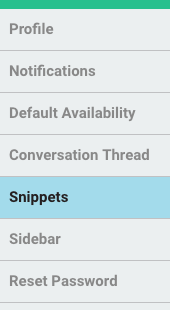
Quiq User Settings
| Profile | Notifications | Default Availability |
| Conversation Thread | Message Composition | Snippets |
| Sidebar | Display | Reset Password |
Introduction
The Settings menu is available for all users. The included items allow configuration of the user interface to align with the user’s individual needs. Settings here apply only to the logged in user and may not be set by an Admin or Manager.

Access the settings menu by selecting the gear icon in the Quiq application toolbar.
CRM integrated customers may access settings by selecting the item from the menu button. NOTE CRM integrated clients may not have all the options shown based upon available screen space.

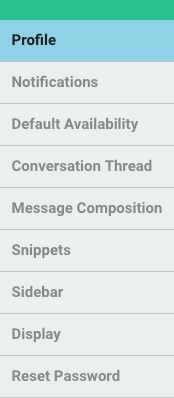
Profile
This section allows the agent to set a profile picture and display name.
Profile photos uploaded are cropped to match the round format provided. Note that these photos may also be customer facing if enabled for web chat. Otherwise, photos are just internal facing, for other users of the Quiq application. If no photo is uploaded, a placeholder with user initials is displayed.
Display Name is only applicable if enabled for web chat. It is not used anywhere else. If no entry is made, the user first and last name are used.

Notifications
Various notification options may be enabled or disabled here to alert a user to the fact that a new conversation, or new message for an existing assigned conversation has been received. Clicking the “Try it” button will provide an example of the behavior.

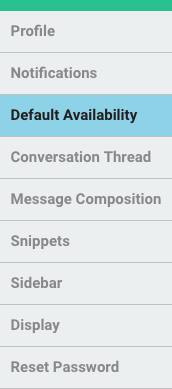
Default Availability
The user may set the availability status applied automatically at login. Choosing the Available status will immediately cause the configured number of conversations to be offered if there is a queue backlog.
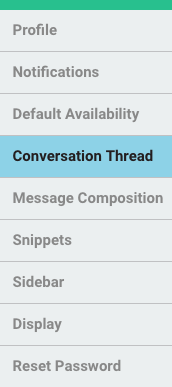
Conversation Thread
This section allows the user to toggle off/on the timestamp and informational messages about the conversation. Managers and Admins should toggle both on to allow analysis of conversations. These settings apply wherever the conversation transcript is displayed. The image shown is updated to provide example output based on the settings selected.
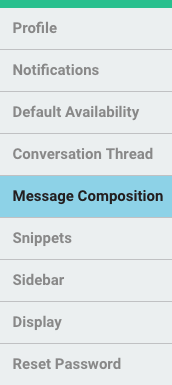
Message Composition
This section allows the user to set the behavior of the return/enter key. The default behavior is to send the message typed in the message area. Selecting “Add New Line” will instead result in a new line being added to the message and the user will be required to click the Send button to send the message.
Snippets
Snippets represent prepared, re-usable content that an agent may insert into a conversation by using a few keystrokes. This content may be simple or rich, and may also be universal or platform specific. Additionally, an Admin user may make snippet content available to all users. Admins may manage the shared snippet library. Users maintain their own personal snippet library. An Admin may review a user’s snippets via Admin > Users. Shared and personal snippets are listed. Selecting an existing item allows editing and deleting based upon permissions described above. Clicking the Create New Snippet button opens the Snippet creation tool.
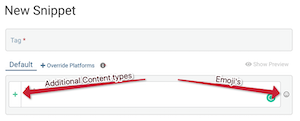
BASIC SNIPPET - A basic snippet consists of a tag and some text. The tag is used as the keystroke the agent may use to call the snippet directly from the conversation message window. Pro Tip - If you have a large number of shared snippets, using tag prefixes may assist in organizing and bringing agents to the snippet they desire (e.g. svc-refund, ship-tracking). Emoji’s and file attachments may also be added to basic snippets.
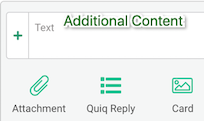
QUIQ REPLY - This expands upon the basic snippet by adding a list of selectable responses that may be presented to and easily selected by the customer. In most cases this is presented as a question or instruction to make a selection. The instruction or Question is entered in the Text field, then replies may be added below by clicking the Add Reply link.

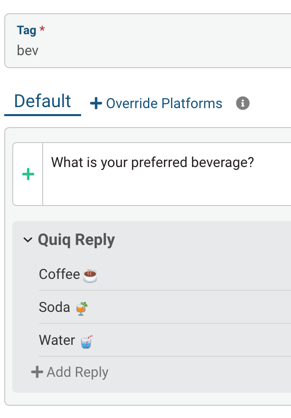
Reply Options: When adding a reply, you will note the following options, described in order below:
- Emoji - Add an emoji in the response.
- Text bubble - Add a conversation side effect. This will change the conversation to the selected status (Inactive or Closed)) if the reply is chosen. Consider the implications when using.
- Re-Route - Route the conversation to a different queue. The conversation queue will be changed to the queue set here if the reply is chosen. This does NOT alter the assigned agent.
- Multi Select - Set or change a field value. Standard, editable customer fields as well as custom conversation or customer fields may be set.
- X - Removes the reply.
When the Quiq Reply is sent it will appear to the agent as follows:

The customer view will depend upon the platform the Quiq Reply is received on.
Web Chat Example

SMS Example

Note - When finished creating a new snippet, be sure to click the green Add Snippet button to save your work.
CARD - Considered a digital flyer, a card is often used as a coupon or a lead in to specific content on a web page. The card elements are the tag (required), Message text, the display image, the URL the user is directed to when clicking the card, title, and subtitle. Advanced options include secondary and tertiary title and image URL (vs uploading the image). Note that the card may be reviewed while editing using the Show Preview button. Cards are displayed directly in all but the SMS platform as it has no graphical capability. SMS conversations are detected and a link to the card is sent to the user. The user may then click the link to view the content.
OVERRIDES
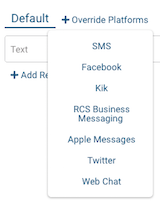
Each messaging platform has unique capabilities that can be capitalized upon by customizing snippet content to match the desired platform. Content in the Default section will be sent with the snippet unless a given platform is specifically overridden. The Quiq application understands the platform the conversation is occurring on and uses the override version of snippets when defined for that platform. Consider overrides when you wish to specifically reference the platform being used. For example a Facebook override may point to a Facebook page vs a web page for other platforms.

Sidebar
The Sidebar may be configured to display any or all of the following items.
- Customers In Queue Graph - This gives the agent a near realtime view of the number of conversations queued.
- Agent Summary Table - The other agents logged in are listed, along with the count of their active and completed conversations for the day.
- Agent Queue Summary Table - This option lists conversations in all of the queues the agent covers. This must be enabled for the Request Conversations button to be visible to the agent. Additionally, the Allow Agents to Request Additional Conversations option must be enabled in Admin - Routing for the Request button to be visible to the agent. The request button will request the next conversation from ANY visible queue. Any queue with conversations will also display a button to select the next conversation from that specific queue.

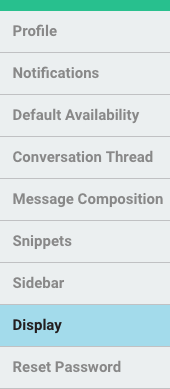
Display
An agent may resize the sidebar area and the field view area of the workspace to fit preferences. If the workspace becomes unworkable, clicking the Reset button displayed here restores the workspace to original dimensions.
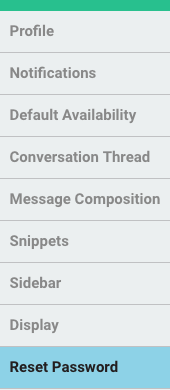
Reset Password
Clicking the Reset Password button triggers an email from the Quiq system to the user’s configured email address. The password will only be changed if the user follows the instructions in the email. the password is NOT reset by clicking the button.