Quiq Salesforce Classic Integration
Overview
When your customers start a new conversation, the Quiq system will create a new Salesforce Case or Lead for the conversation, depending upon your configuration. You may create a System Administrator account for a Quiq employee to complete this setup, or you can proceed with these steps on your own.
Consoles are used to provide visibility of Quiq components in addition to existing items. Customers with complex consoles in place may wish to first implement in a staging or Sandbox system. Quiq is happy to make a test site available as well, to match with a Salesforce Sandbox site. Whether your Salesforce admin or Quiq accomplishes the configuration, your admin should be available and work with Quiq through the process.
NOTE: YOUR_QUIQ_TENANT is a placeholder for the name of your tenant in the Quiq system. It is often your organization name and is the first part of the URL to your Quiq site. Confirm this with Quiq support before you continue.
Connected App
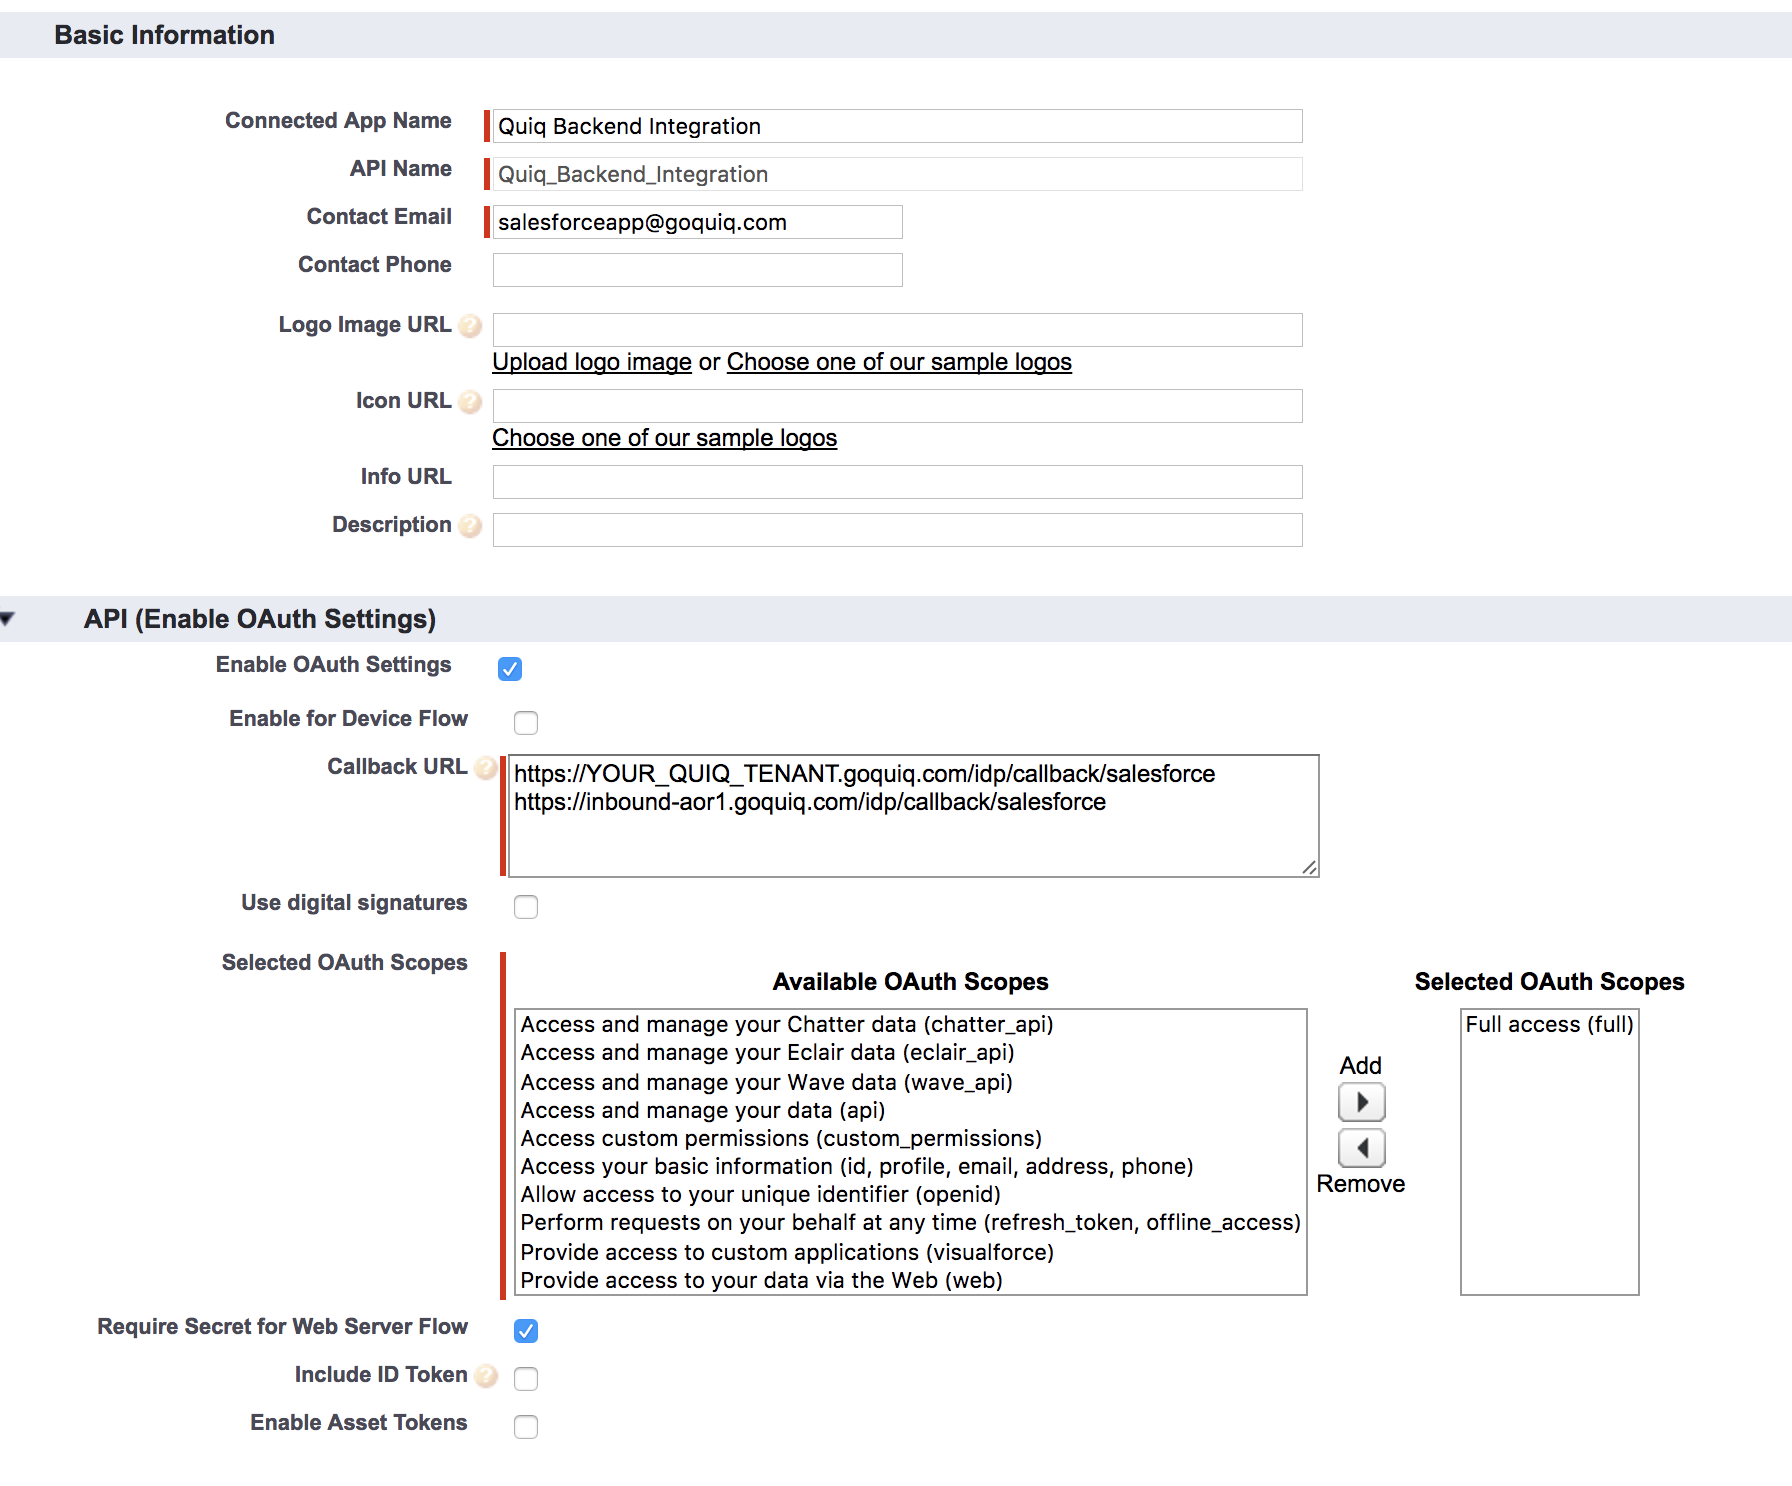
Quiq connects to Salesforce via a Connected App.
- Create a new Connected App from the Salesforce setup pages under Build->Create->Apps.
- Click on the “New” button next to Connected Apps.

- Under Name type Quiq Backend Integration
- For Contact Email input salesforceapp+YOUR_QUIQ_TENANT@quiq.com
- Check the Enable OAuth Settings box.
- For Callback URL put in two values separated by a new line.
- https://YOUR_QUIQ_TENANT.goquiq.com/idp/callback/salesforce
- Replace the YOUR_QUIQ_TENANT above with your Quiq tenant name.
- https://inbound-aor1.goquiq.com/idp/callback/salesforce
- https://YOUR_QUIQ_TENANT.goquiq.com/idp/callback/salesforce
- For Selected OAuth Scopes choose Full Access (full)
- Share your Consumer Key and Consumer Secret with Quiq.

- Manage the new Connected App and set IP restrictions to Relaxed.
- Change the Self Authorized selection to Admin Authorized, then grant access to the specified profiles.
Integration Account
Salesforce requires API calls to go through a Connected App as well as through an account. So we must create an account for Quiq to use to create Cases or Leads. It is important that this account’s login info never expires, so we start the process by creating a profile without password expiration.
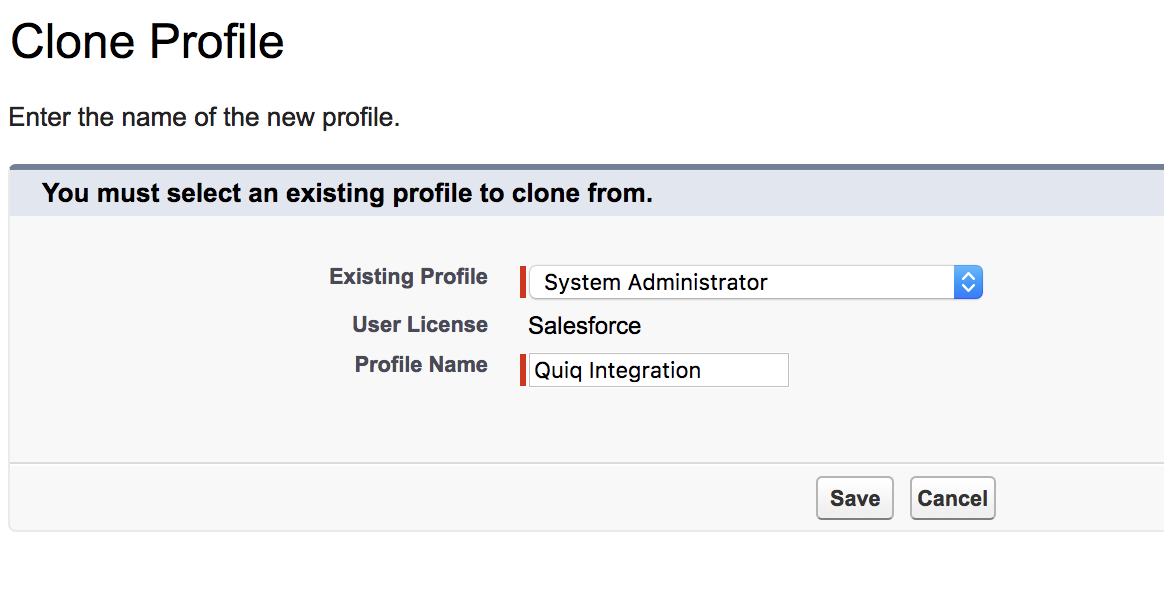
- In the Salesforce Settings area Under Administer->Manager Users->Profiles create a new profile
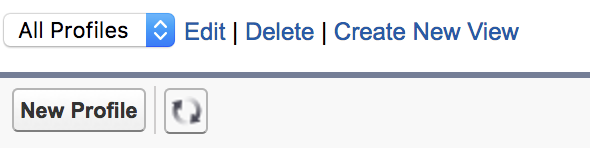
- Clone this profile from the “System Administrators” profile.
- Name this profile “Quiq Integration”
- Click edit in the “Password Policies” section.
- Update the password policies so that user passwords never expire

- Create a new user with the “Quiq Integration” profile. For email/username use “salesforceapp+YOUR_QUIQ_TENANT@quiq.com”.
- Quiq will receive an email and proceed with setup.
Quiq Messaging Visualforce Page
- In Setup, search for Visualforce Pages
- Select Visualforce Pages under Build->Develop->Visualforce Pages
- Select New
- Label Quiq Messaging
- Name Quiq_Messaging
- Paste in the following code
<apex:page showHeader="false" sidebar="false" standardStylesheets="false" applyBodyTag="false" applyHtmlTag="false"> <html> <body style="margin: 0;"> <script src="https://YOUR_QUIQ_TENANT.goquiq.com/app/salesforce/index.js"></script> </body> </html> </apex:page> - Click Save
Custom Sidebar Components
- In Setup, search for User Interface
- Select Build->Customize->User Interface
- Click Show Custom Sidebar Components on All Pages so it is enabled
- Click Save
Quiq Conversation Widget in Layouts
This applies to Cases or Leads depending upon your configuration.
- In Setup search for “Page Layout”
- Copy your existing Case/Lead Layout into a new layout called Quiq Case/Lead
- Edit the Quiq Case/Lead layout
- At the top right of the editor, select Custom Console Components
- Under Primary Tab Components->Left Sidebar, set Width to 800
- Under Type, select Visualforce Page
- Click the magnifying glass under Component
- Click Quiq Conversation
- Leave Label blank
- Set Height to 100
- Click Save
New Record Type
- Goto the Case/Lead Record Types section
- Add a new Quiq Case/Lead Record type (copy one of the other case record types - if there is none create a Default Case record type for current items)
- Associate the Quiq Case/Lead Record type with the Quiq Case/Lead Page Layout you created above
- Once you’ve created this record type obtain the ID from the url (Should look like …?id=01241000001ILK5).
- Send that ID to Quiq, indicating it as a Lead or Case record type ID.
- Assign the Page Layout to the Profiles for specified record types using Page Layout Assignment.
Quiq Messaging Widget
- In Setup, search for Custom Console Components
- Select Custom Console Components under Build->Customize->Console
- Click New
- Name: Quiq_Messaging
- Button Name: Quiq Messaging
- Button Icon Url https://static.quiq-cdn.com/quiq/favicon/favicon-32x32.png
- Under Component Window Settings->Component click the Magnifying Glass
- Select Quiq_Messaging
- Width: 400, Height: 500
- Fixed Width: enabled
- Fixed Height: enabled
- Disable Popouts: enabled
- Click Save
Add Quiq to Console
For Leads, users must have the Sales Console license applied to access consoles. Cases require a Service Cloud license. You may either create a new Service/Sales Console for Quiq, or edit an existing console.
- In Setup, search for Apps
- Click Apps under Build->Create
- Open the Console you are adding Quiq to.
- In the Choose Console Components section, move Quiq_Messaging to Selected Items.
- Ensure that Case/Lead records open as a primary subtab.
- On the Assign to Profiles page, Click the checkbox next to Visible, then the checkbox next to Default, so all checkboxes are checked.
- Save