Quiq Salesforce Integration - Lightning Experience
Overview
When your customers start a new conversation, the Quiq system will create a new Salesforce Case or Lead for the conversation, depending upon your configuration. You may create a System Administrator account for a Quiq employee to complete this setup, or you can proceed with these steps on your own.
This document is specific to the Lightning Experience interface. It is assumed that the subject Salesforce site has been configured for the Lightning Experience and Case or Lead consoles utilize the Lightning Experience.
Quiq is happy to make a test site available to match with a Salesforce Sandbox site. Whether your Salesforce admin or Quiq accomplishes the configuration, your admin should be available and work with Quiq through the process.
NOTE: YOUR_QUIQ_TENANT is a placeholder for the name of your tenant in the Quiq system. It is often your organization name and is the first part of the URL to your Quiq site. Confirm this with Quiq support before you continue. YOUR_SALESFORCE_SITE is the full name of your Salesforce site, typically ending in salesforce.com.
Connected App
Quiq connects to Salesforce via a Connected App.
- Create a new Connected App from the Salesforce setup pages under Build->Create->Apps.
- Click on the “New” button next to Connected Apps.

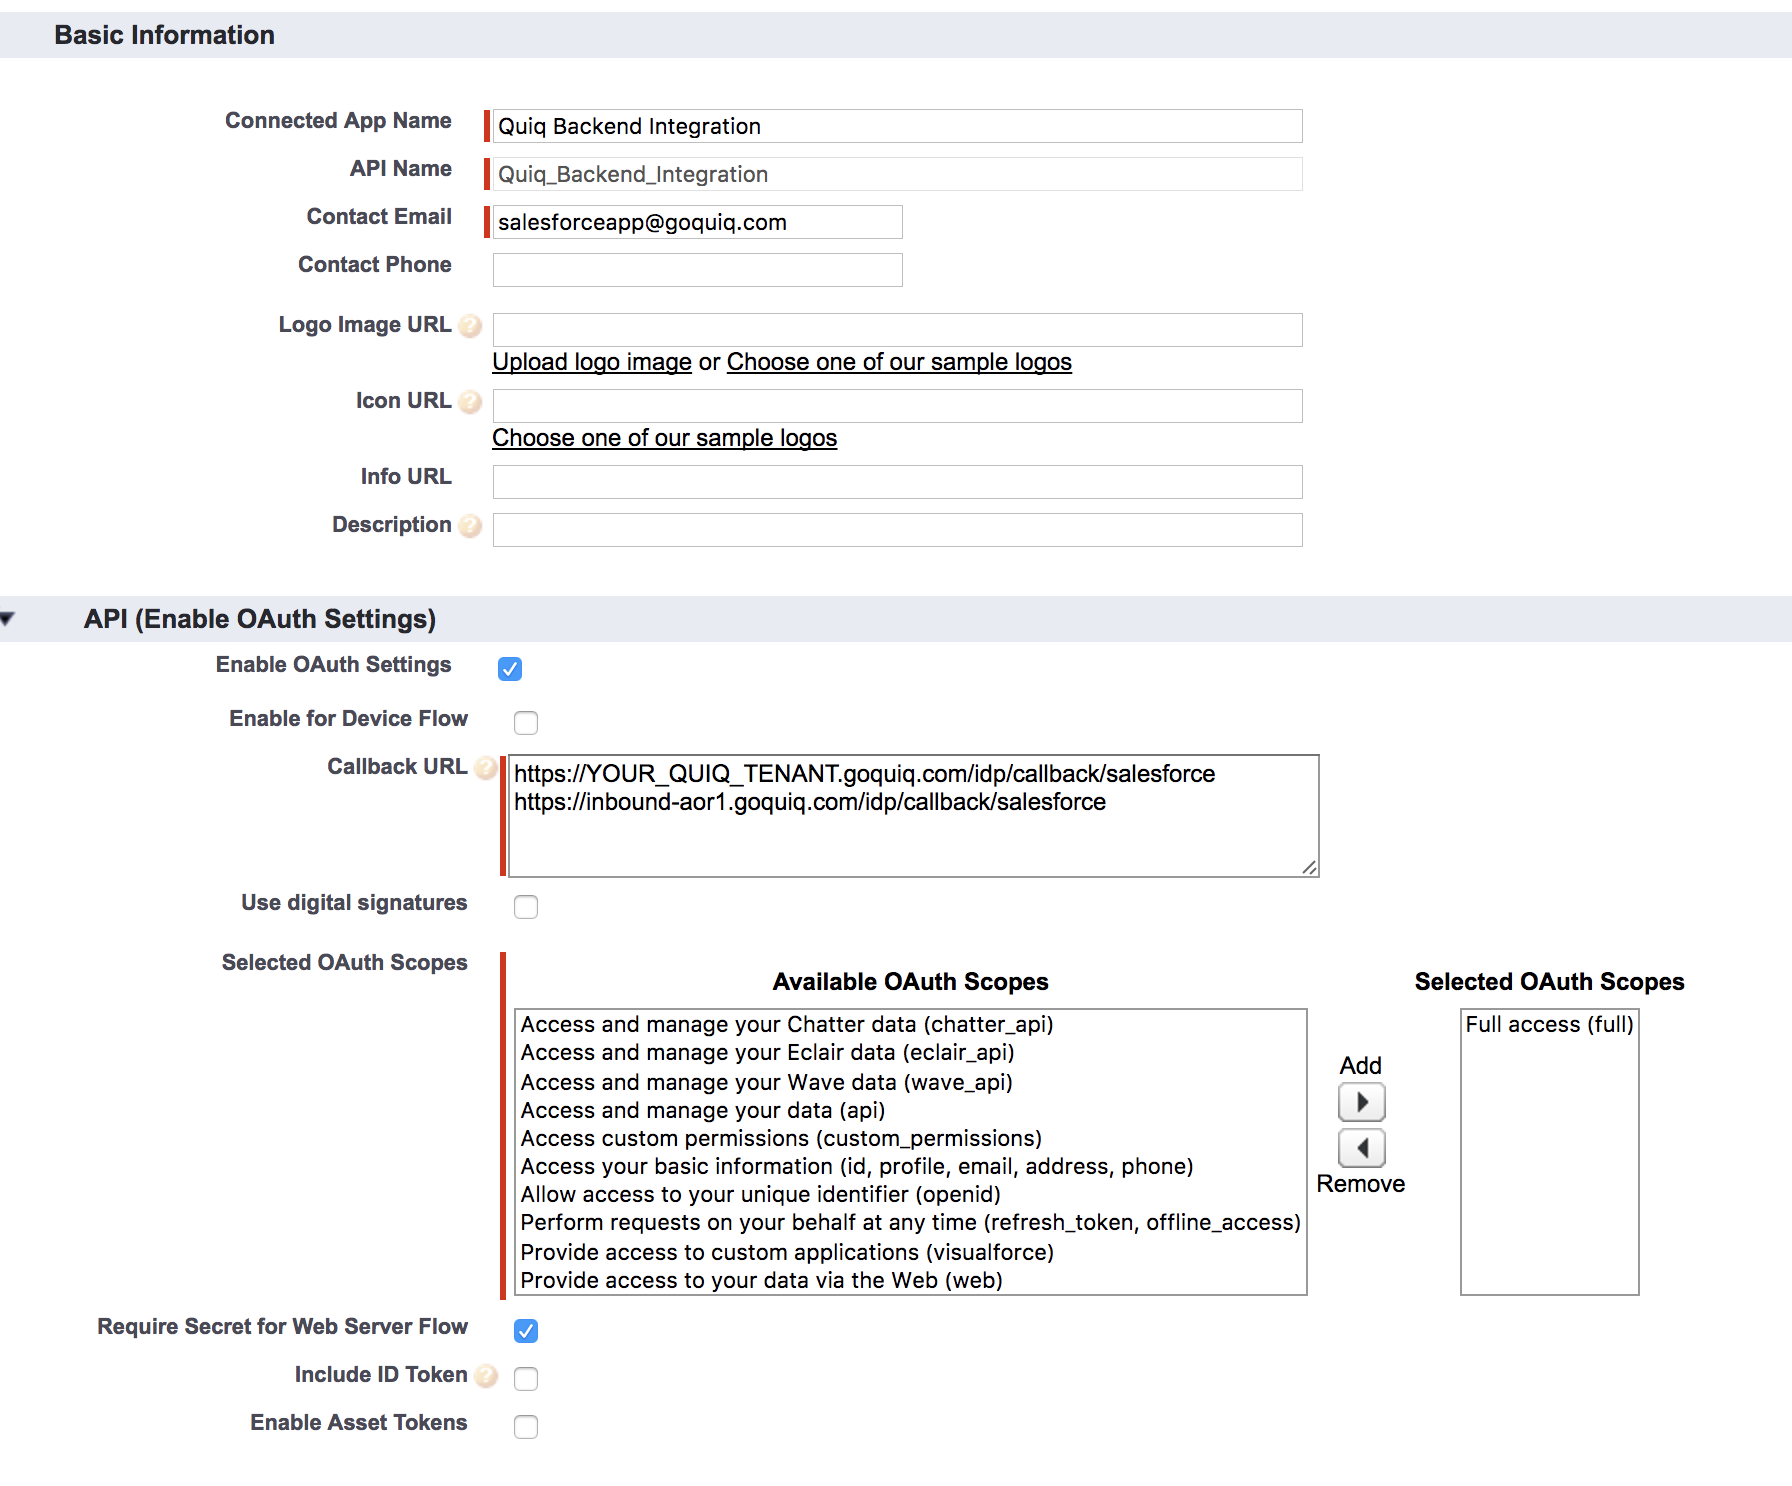
- Under Name type Quiq Backend Integration
- For Contact Email input salesforceapp+YOUR_QUIQ_TENANT@quiq.com
- Check the Enable OAuth Settings box.
- For Callback URL put in two values separated by a new line.
- https://YOUR_QUIQ_TENANT.goquiq.com/idp/callback/salesforce
- Replace the YOUR_QUIQ_TENANT above with your Quiq tenant name.
- https://inbound-ava1.goquiq.com/idp/callback/salesforce
- https://YOUR_QUIQ_TENANT.goquiq.com/idp/callback/salesforce
- For Selected OAuth Scopes choose Full Access (full)
- Share your Consumer Key and Consumer Secret with Quiq.

- Manage the new Connected App and set IP restrictions to Relaxed.
- Change the Self Authorized selection to Admin Authorized, then grant access to the specified profiles.
Integration Account
Salesforce requires API calls to go through a Connected App as well as through an account. So we must create an account for Quiq to use to create Cases or Leads. It is important that this account’s login info never expires, so we start the process by creating a profile without password expiration.
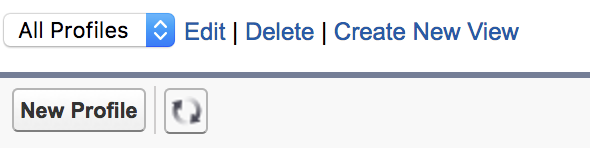
- In the Salesforce Settings area Under Administer->Manager Users->Profiles create a new profile
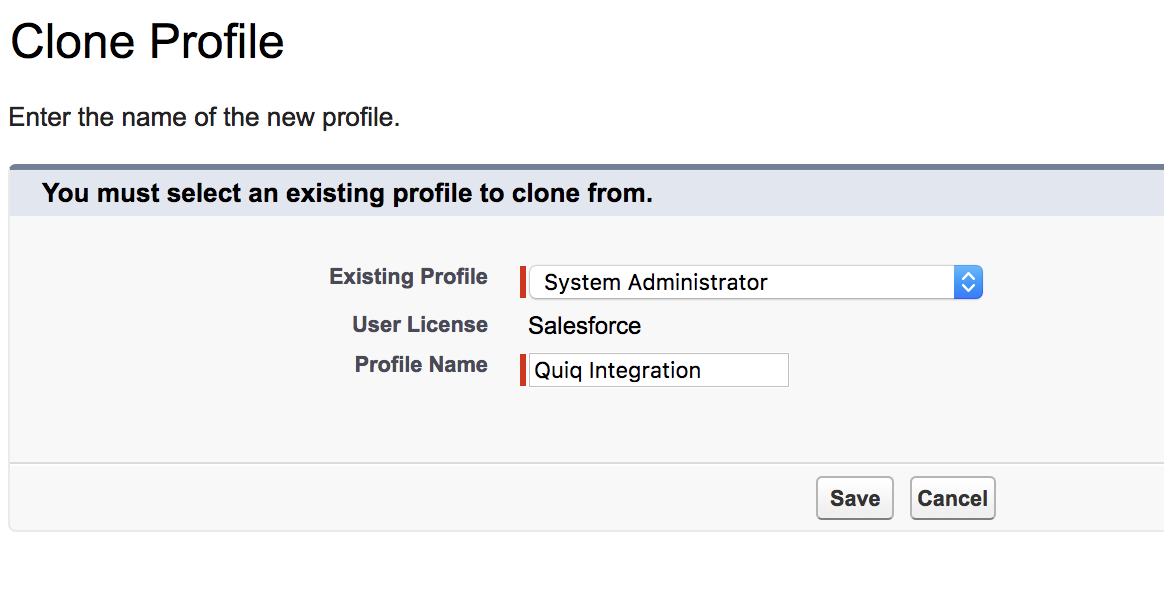
- Clone this profile from the “System Administrators” profile.
- Name this profile “Quiq Integration”
- Click edit in the “Password Policies” section.
- Update the password policies so that user passwords never expire

- Create a new user with the “Quiq Integration” profile. For email/username use “salesforceapp+YOUR_QUIQ_TENANT@quiq.com”.
- Quiq will receive an email and proceed with setup.
Install the Quiq Package
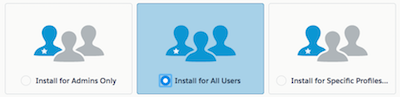
Log into Salesforce as a user with adequate (admin) permissions, then open a new browser tab and place the Quiq Package URL provided by Quiq for your site. This will open a package installer interface and allow selection of target users. Ensure that “Install for all users” is selected.
When the installation has completed, select Done.
Add Quiq Components to Consoles
Quiq component are designed to be fitted into Lightning apps in both the Utility bar and record detail layouts.
Utility Bar
- From the Setup screen, locate App Manager under Platform Tools > Apps. Find the Case or Lead Lightning App to which you wish to add the Quiq components, and choose Edit from the dropdown menu in the last column.
- In the Lightning App Builder screen, select Utility Bar on the left side menu.
- Click the Add button to add a Utility Bar item.
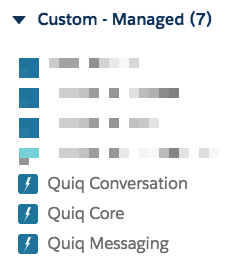
- Scroll down to the Custom - Managed sections and choose Quiq Messaging
- Confirm the Properties as follows:
- Label - Quiq Messaging
- Icon - No Icon
- Panel Width - 340
- Panel Height - 480
- Load in Background - Checked
- Base Quiq URL - https://YOUR_QUIQ_TENANT.goquiq.com
- Click the Save button
Pages
- Create a new Record Page.
- Label - Quiq Case or Quiq Lead (depending upon record type)
- Object - Case or Lead
- Click Next, and select a desired layout (suggest “Header and Right Sidebar”)
- Click Finish
- On the left side, scroll to the Custom Managed components and drag Quiq Conversation into the Left column of the page.
- On the right side enter the following:
- Base Quiq URL - https://YOUR_QUIQ_TENANT.goquiq.com
- Height - 800
- Save and Activate the Page.
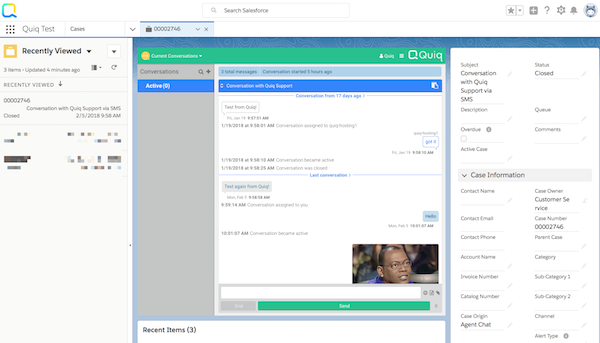
Once the page has been activated as the default for the App, Open the app and select a Case or Lead record to view the result. The Quiq Conversation component may reside in any page layout, but should be given adequate room for the conversation and collaboration sections to display correctly.